How to add images and tables to the business plan?
Enhancing your business plan with images can transform it from a simple document into a compelling narrative. Tables are vital for summarizing complex data, making it easier for stakeholders to understand the essentials of your business at a glance.
You can easily insert and remove images/ tables in your business plan to make it more engaging and visually appealing.
In this article, we'll guide you through the simple steps to add images and tables to your business plan, helping you craft a visually engaging and data-rich document.
In This Article
How to add an Image?
You can easily add images seamlessly into your document by utilizing the Image elements.
Steps to Insert Images
- 1
-
From the company menu, navigate to the Business Plan builder and click on it.

- 2
-
Look for the Image element in the left sidebar of the business plan builder.
Drag this element to your preferred location within the plan.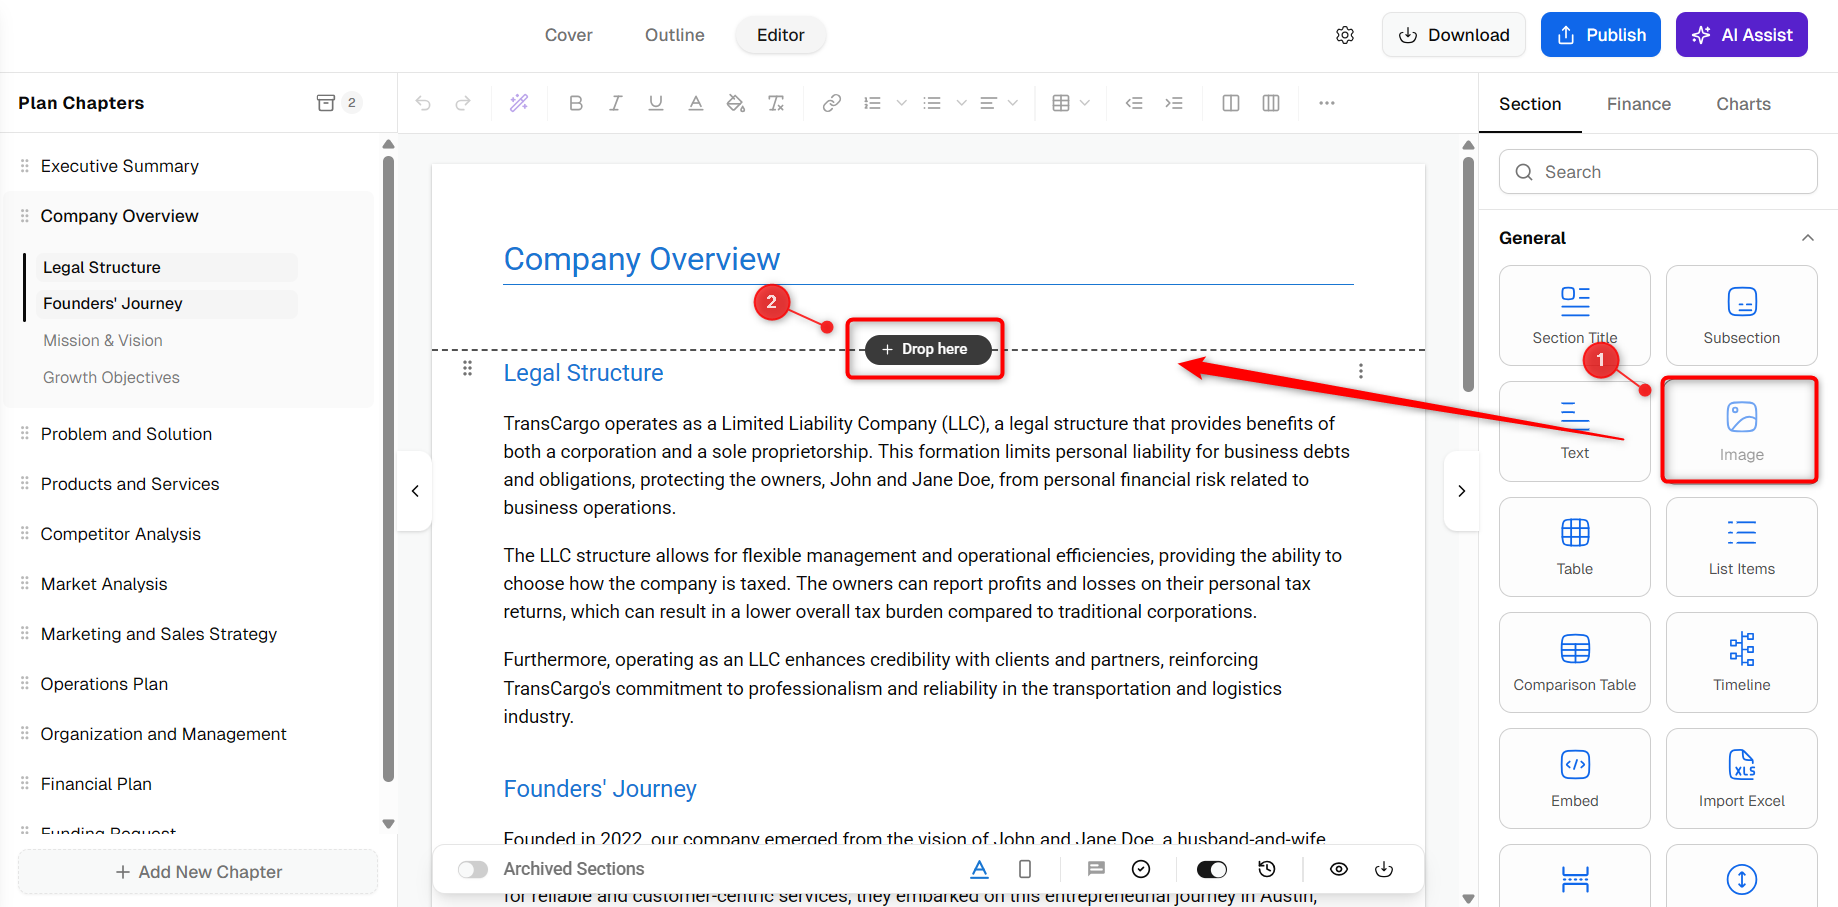
- 3
-
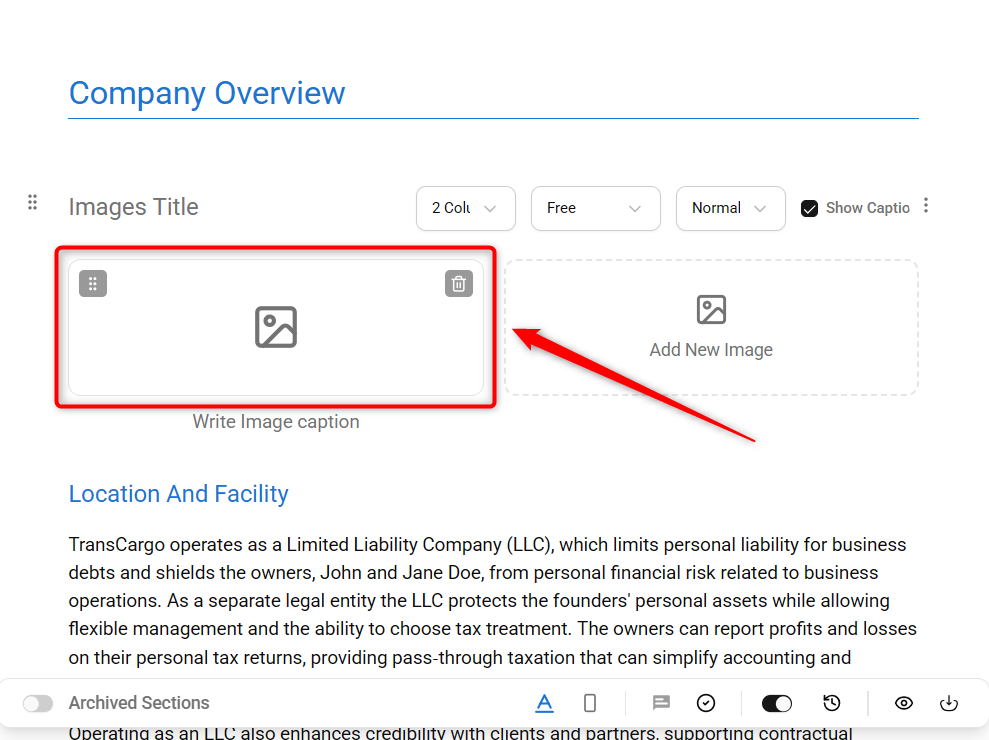
Click the image upload area to trigger the file explorer, choose your image, and upload it, enhancing your plan’s visual appeal.
- 4
-
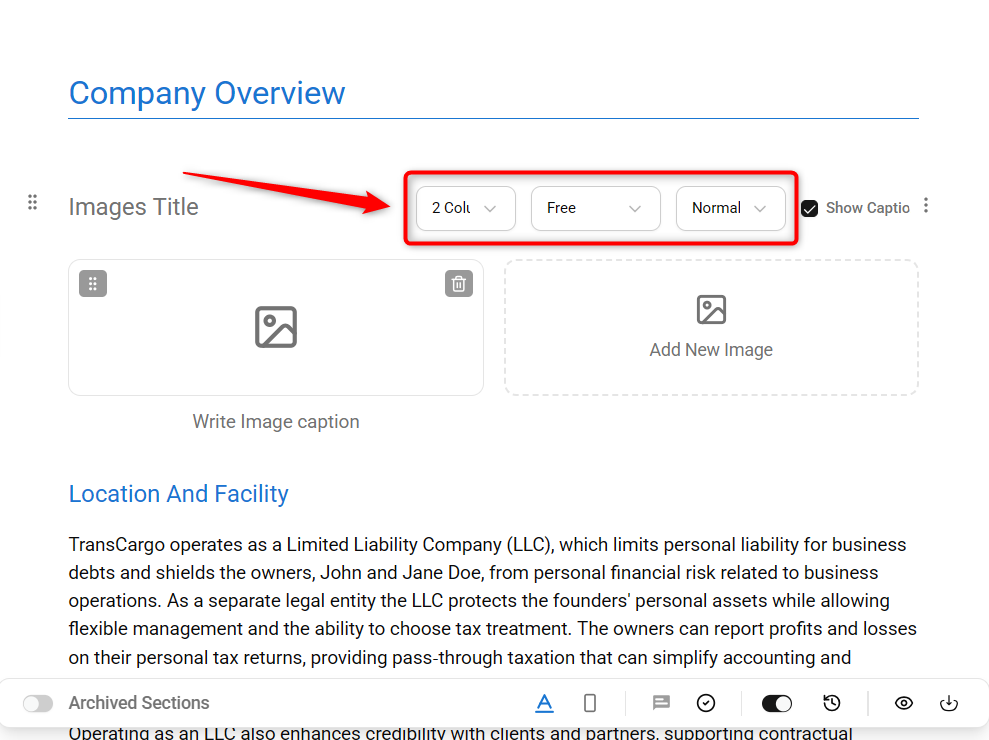
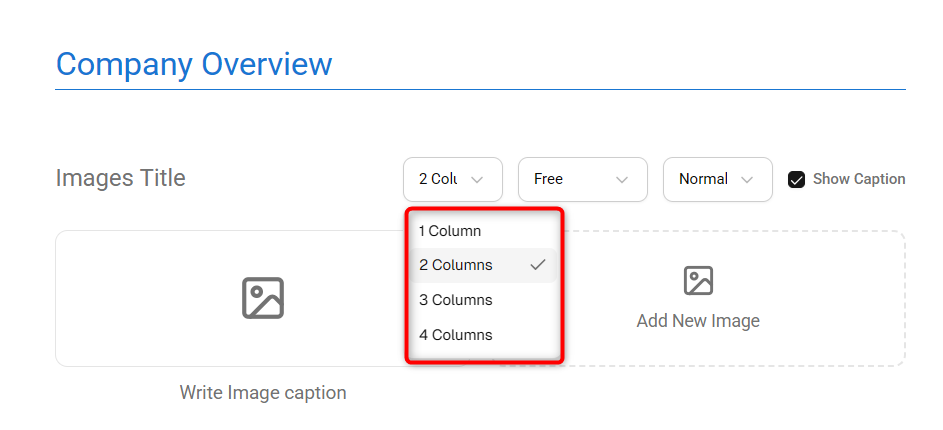
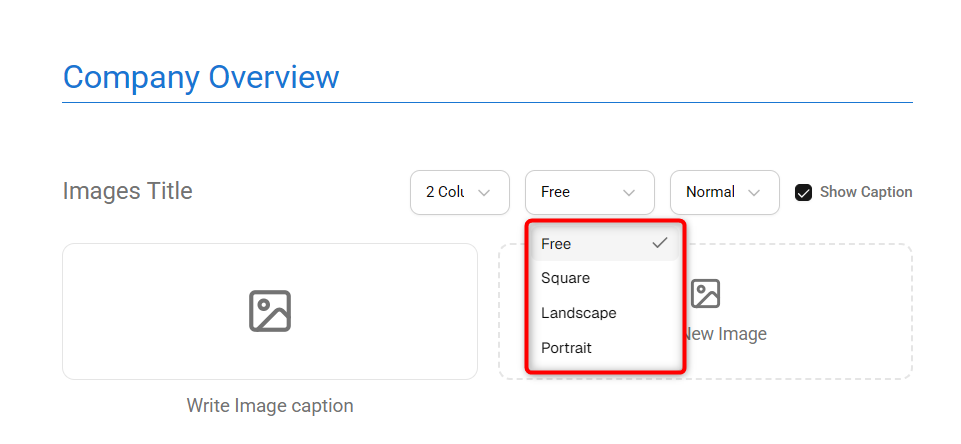
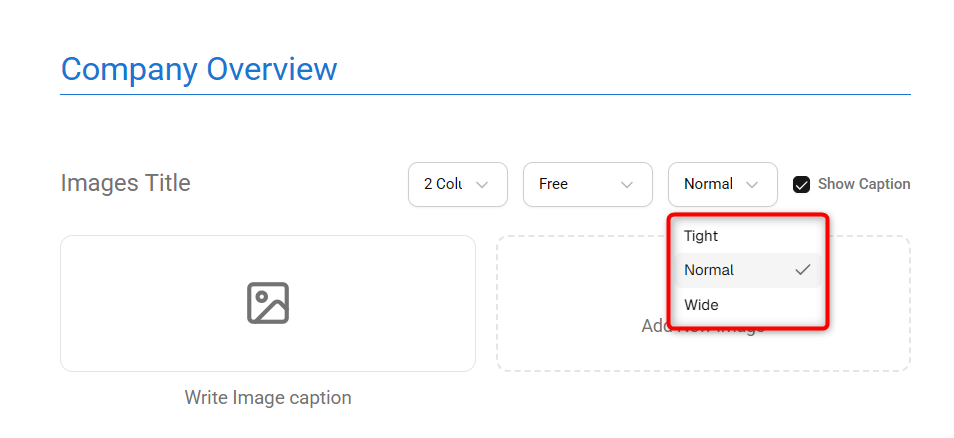
After inserting the image, you have the flexibility to choose the layout of the image according to your business plan.
- 5
-
Within the text of your business plan, type / where you wish to add an image.
This action will prompt one pop up menu to appear.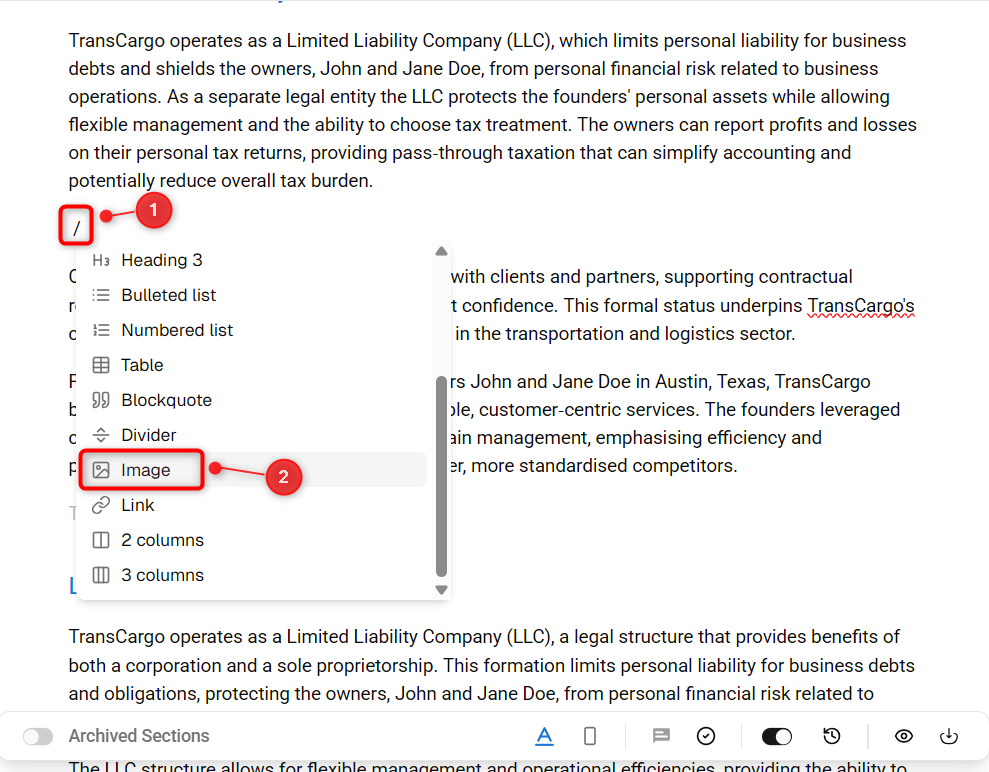
- 6
-
After selecting the Image option, you can select an image file to add your image.
- 7
-
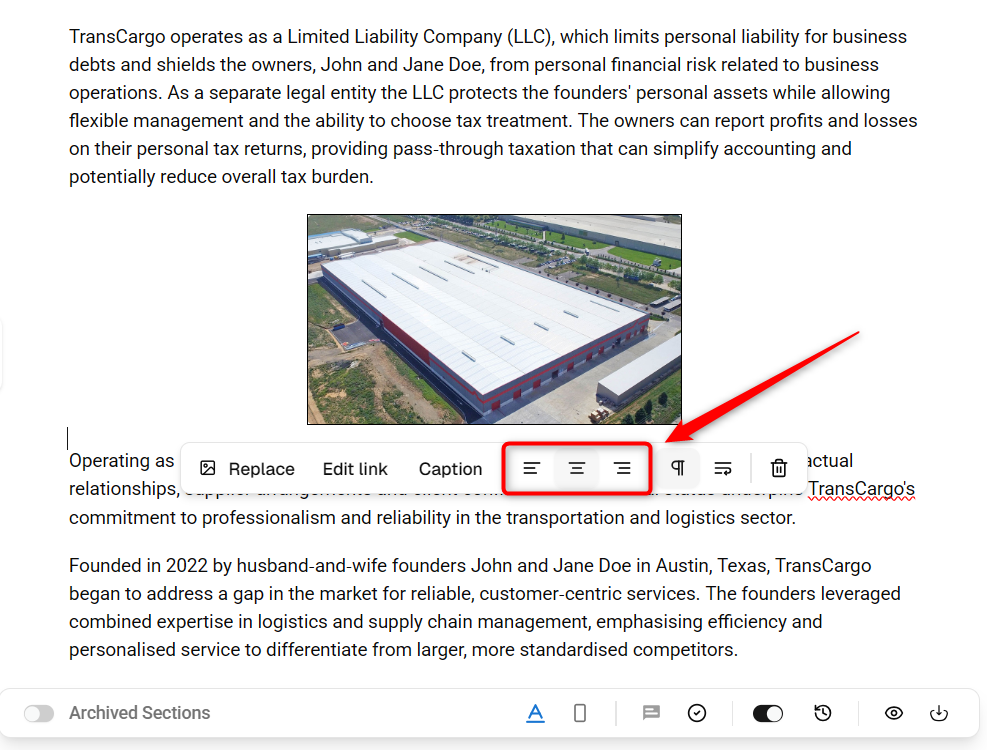
You can align the image to the left, right, or center, ensuring it complements the surrounding text effectively.


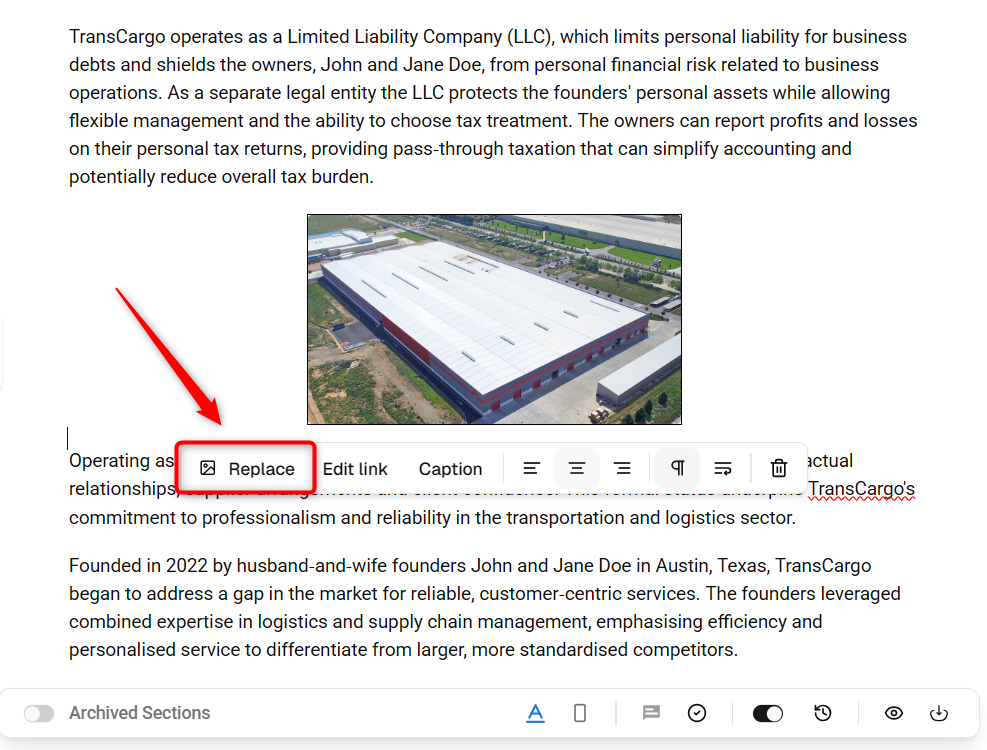
Steps to Replace Images:
- 1
-
Click on the image to select it, and you will have the Replace option below:
- 2
- After clicking on the Replace option, you can upload an image by selecting a file manually for addition.

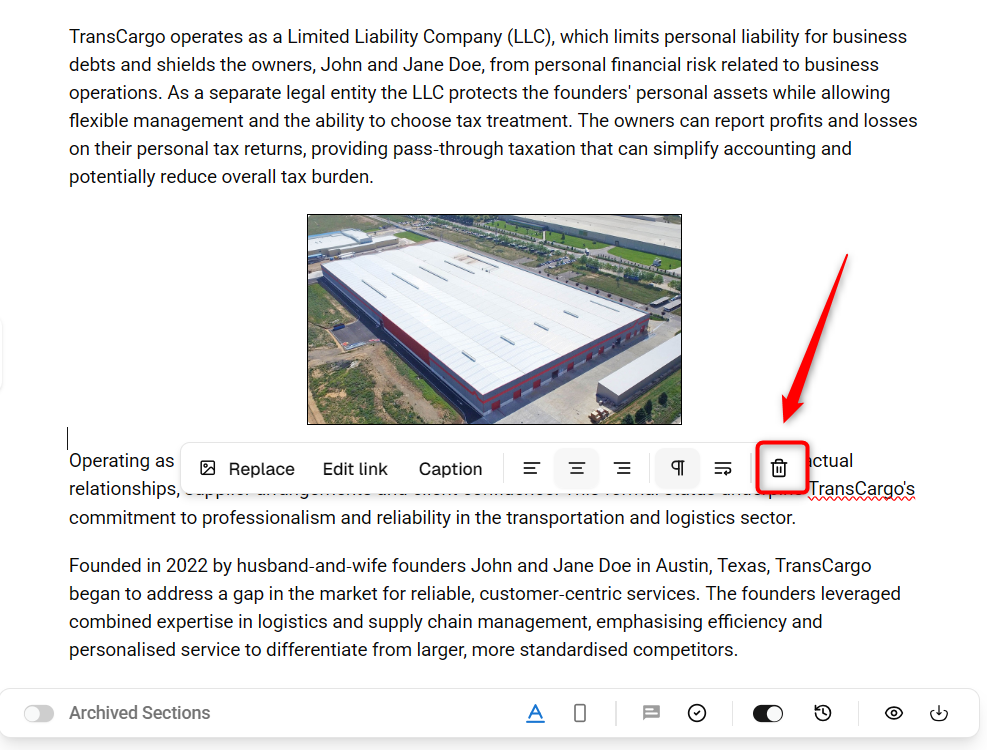
Steps to Remove Images:
- 1
- Open your business plan and scroll to the section containing the image you wish to remove.
- 2
- Click on the image to select it. You should see handles around the image indicating it is selected.
- 3
-
Press the delete or backspace key on your keyboard to remove the image.
Alternatively, look for a Remove option in the image formatting toolbar that appears upon selecting the image.

How to add Table?
Adding a table to your business plan is straightforward. Simply use the Table elements to insert a table.
- 1
-
Go to the company menu, locate the Business Plan builder, and click on it.
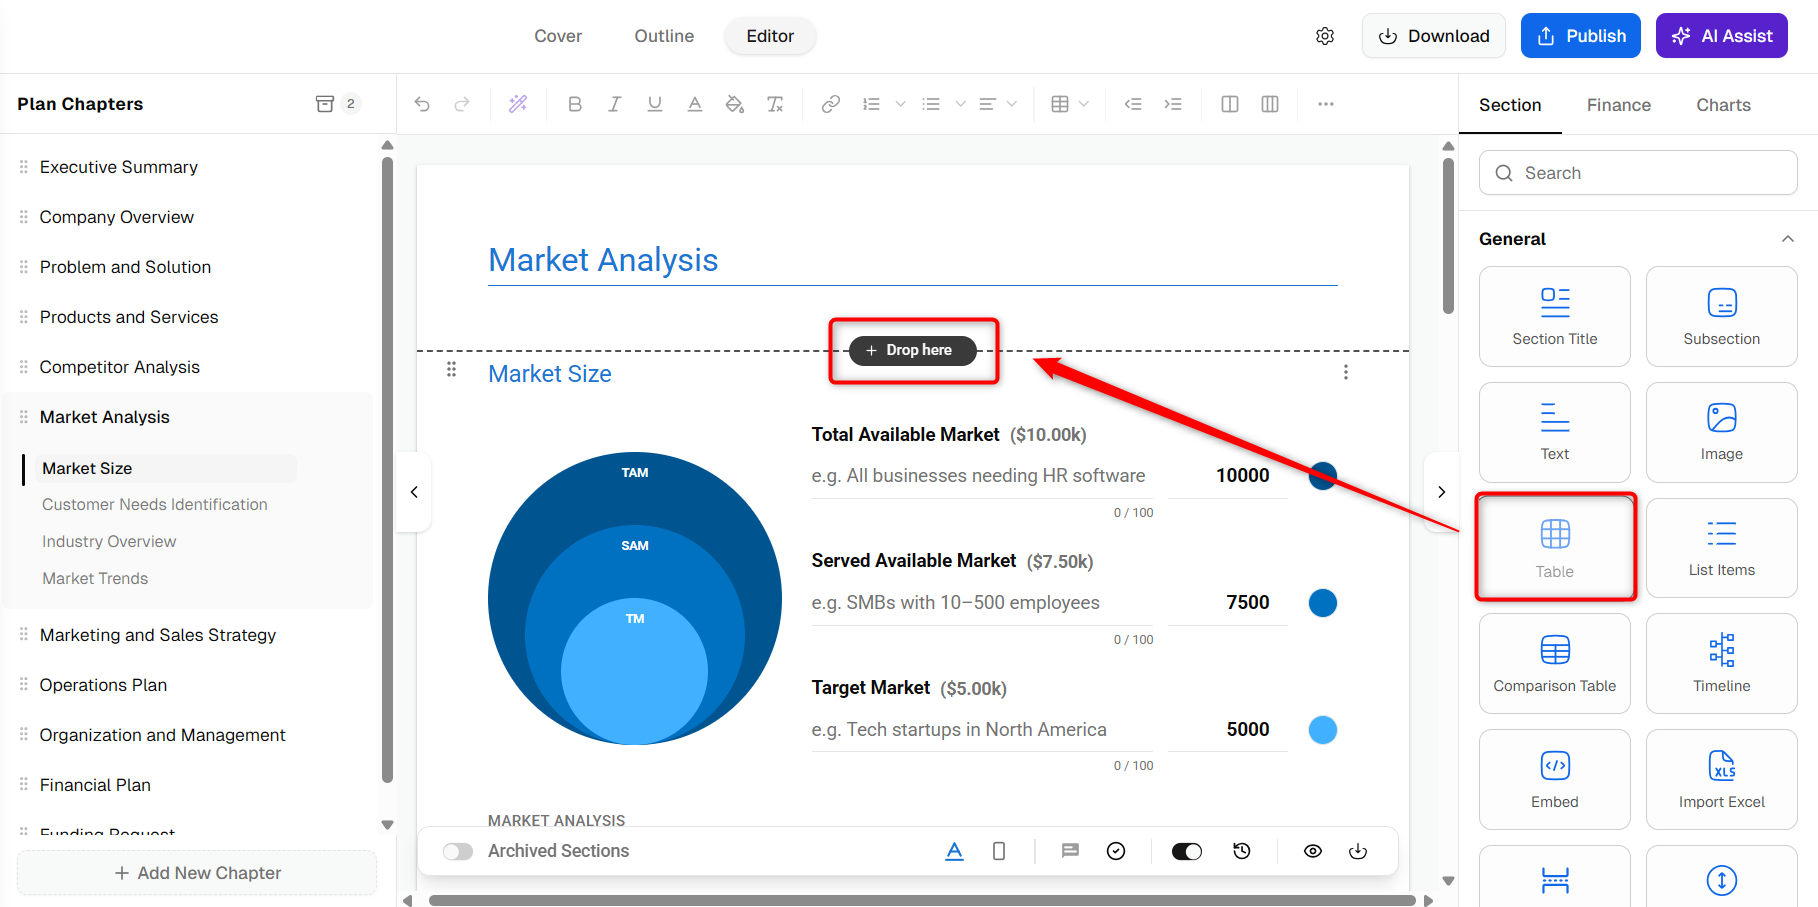
Here, look for the Table elements in the sidebar of the business plan builder. Drag this element to your preferred location within the plan.
- 2
-
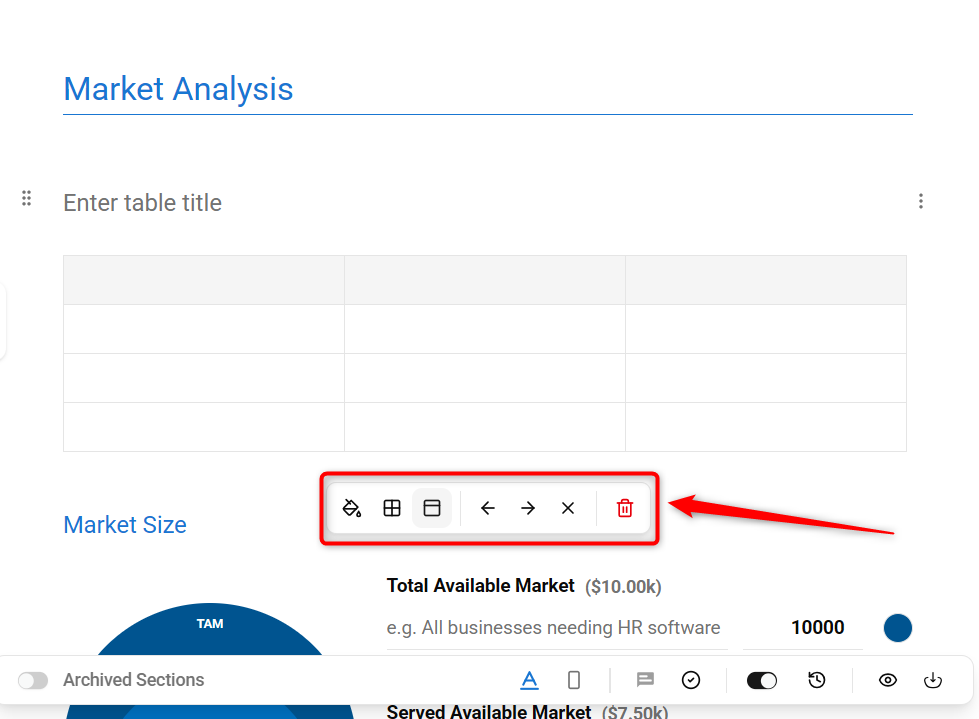
Once the table is added, adjust the table/ cell style, cell color, and other settings to enter your data into the table.
- 3
-
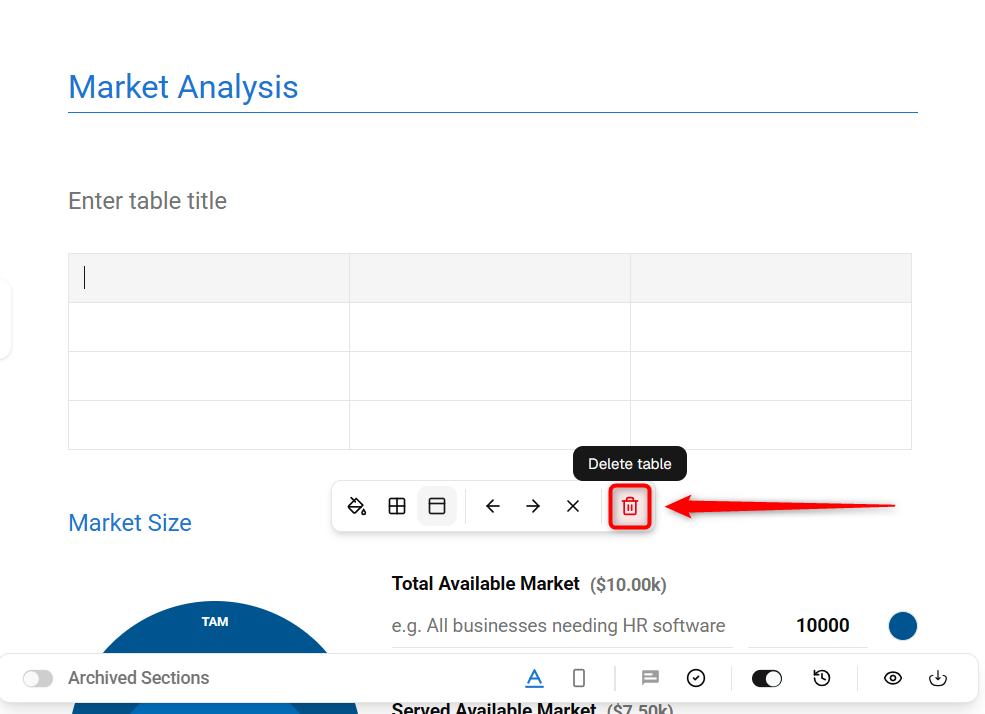
You can easily delete your table by clicking on the remove table option.
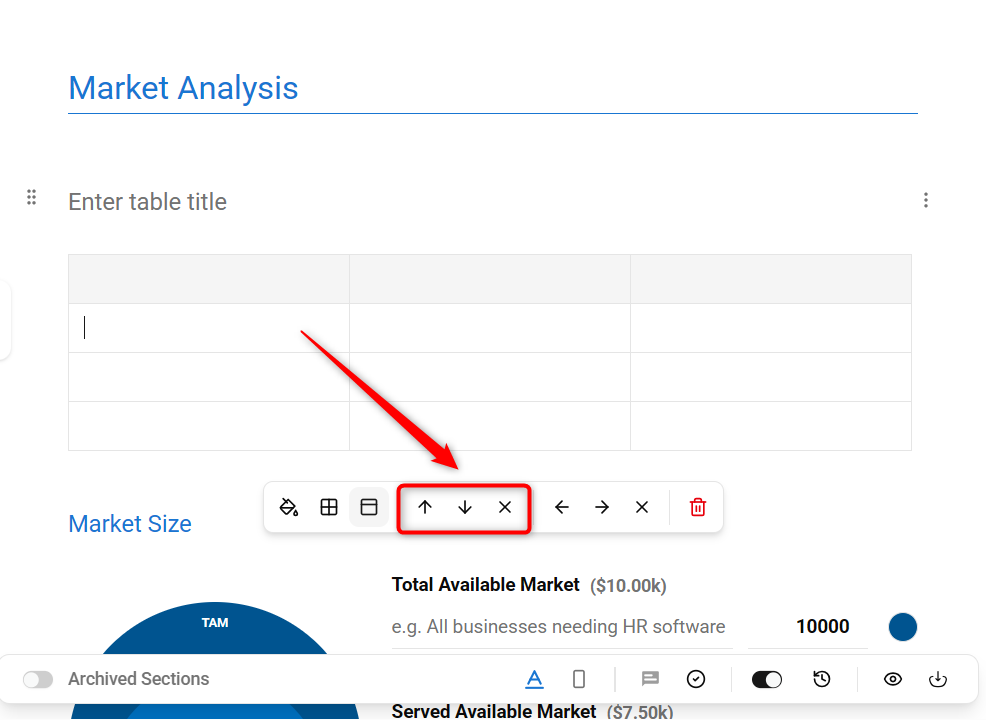
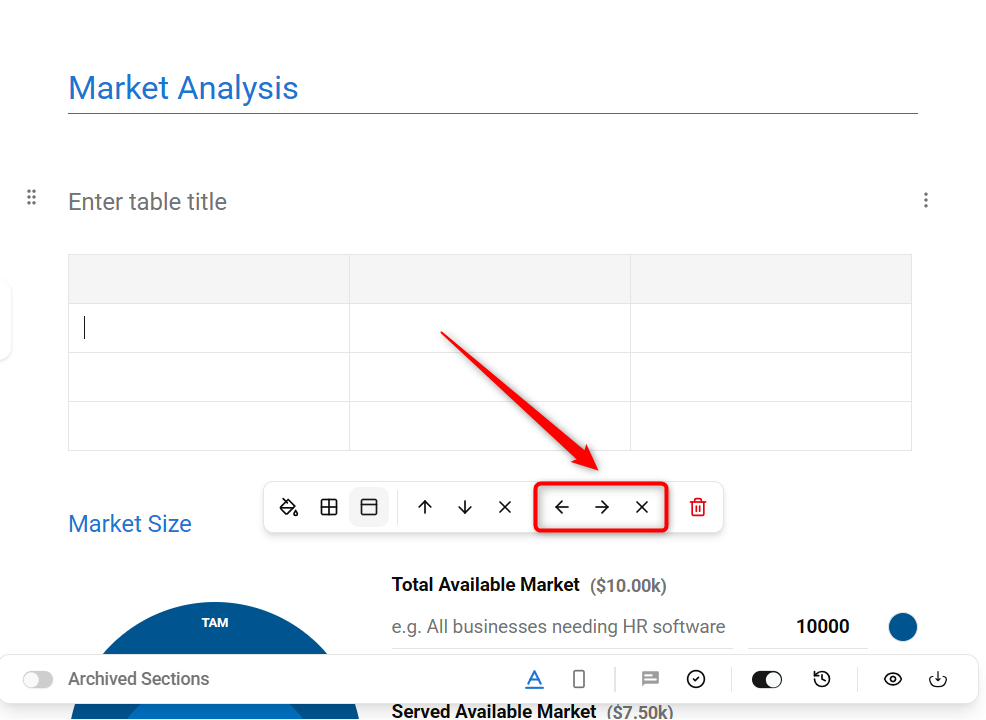
- 4
-
You can easily add or remove row and column whenever required.