How to add a page number to your business plan?
Adding a footer to your business plan is a small but powerful way to make your document look more professional and provide important information consistently on every page.
Footers are ideal for displaying essential information such as page numbers, your business name, the current year, and other pertinent business details that need to appear on each page.
This guide will walk you through the simple steps to manage and customize the footer in your business plan.
Steps:
- 1
-
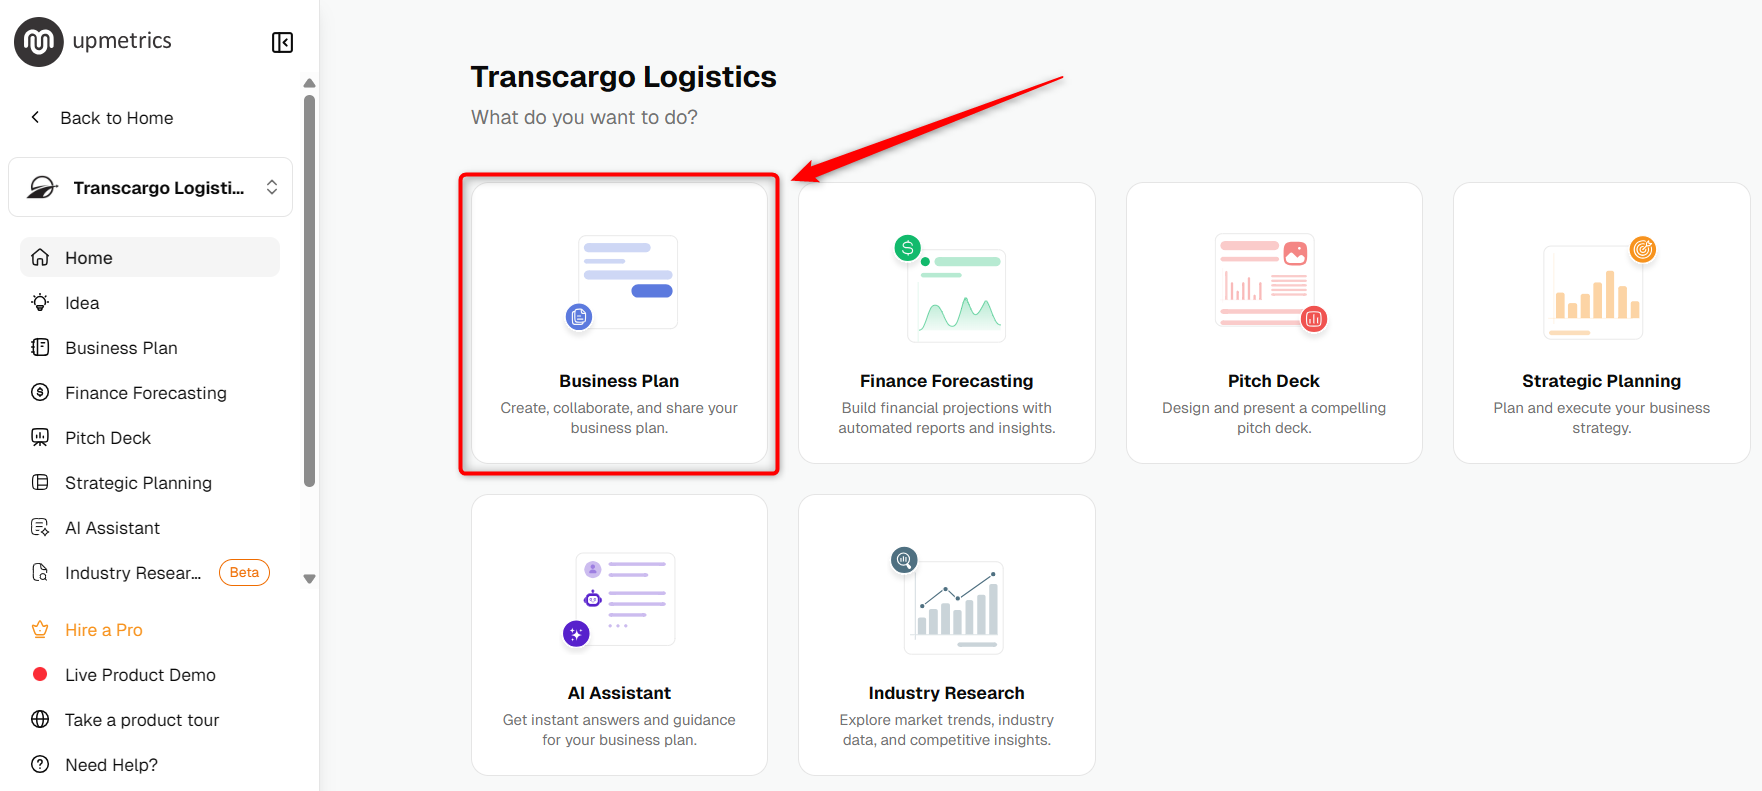
Open the business plan of the Company you wish to edit.
- 2
-
In the Download section, locate the Footer option on the right-hand side bar.
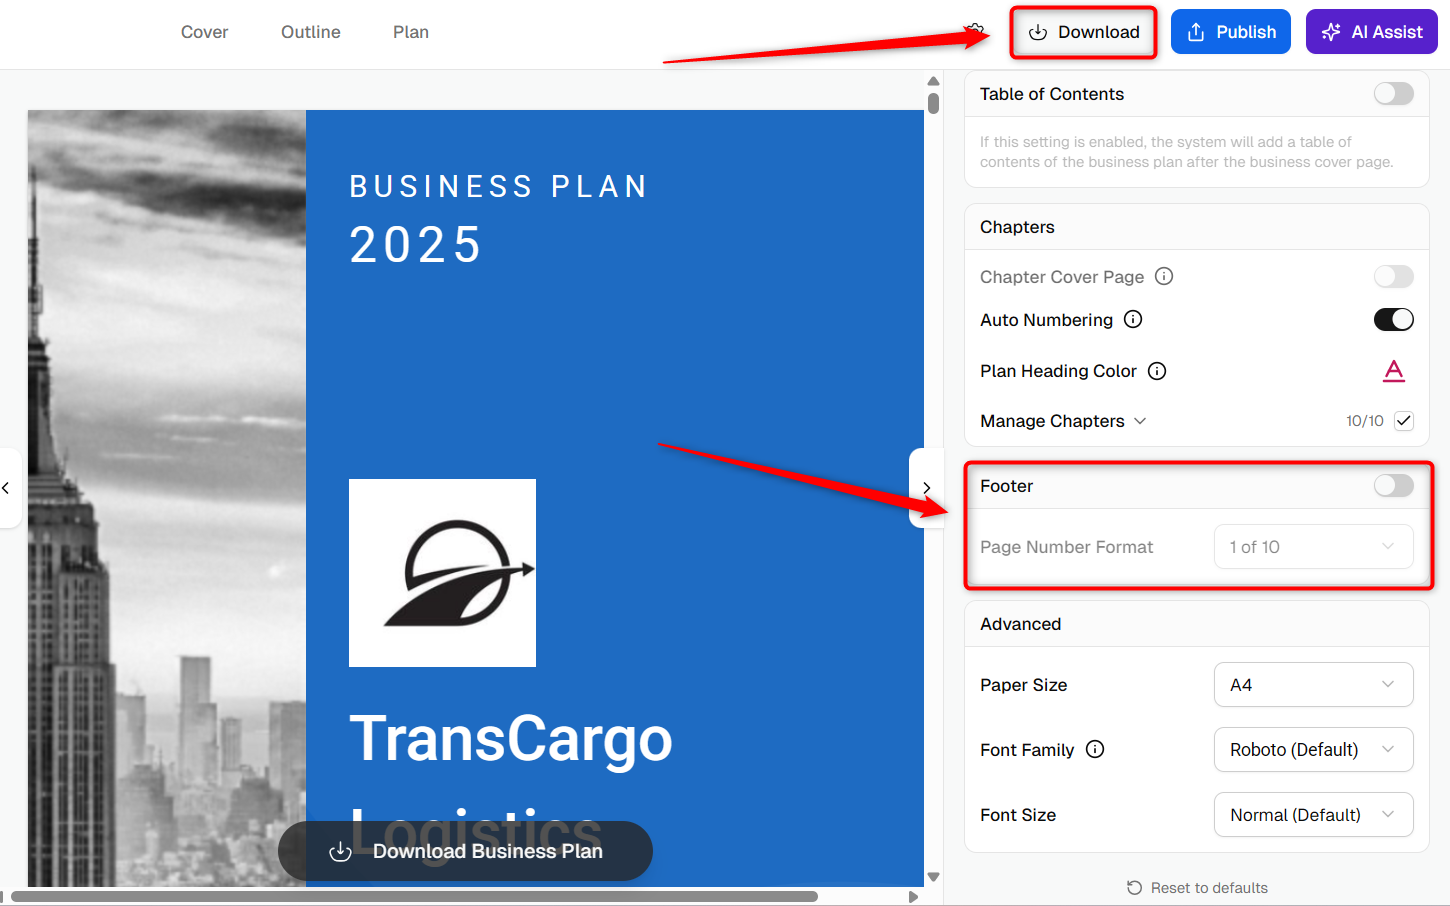
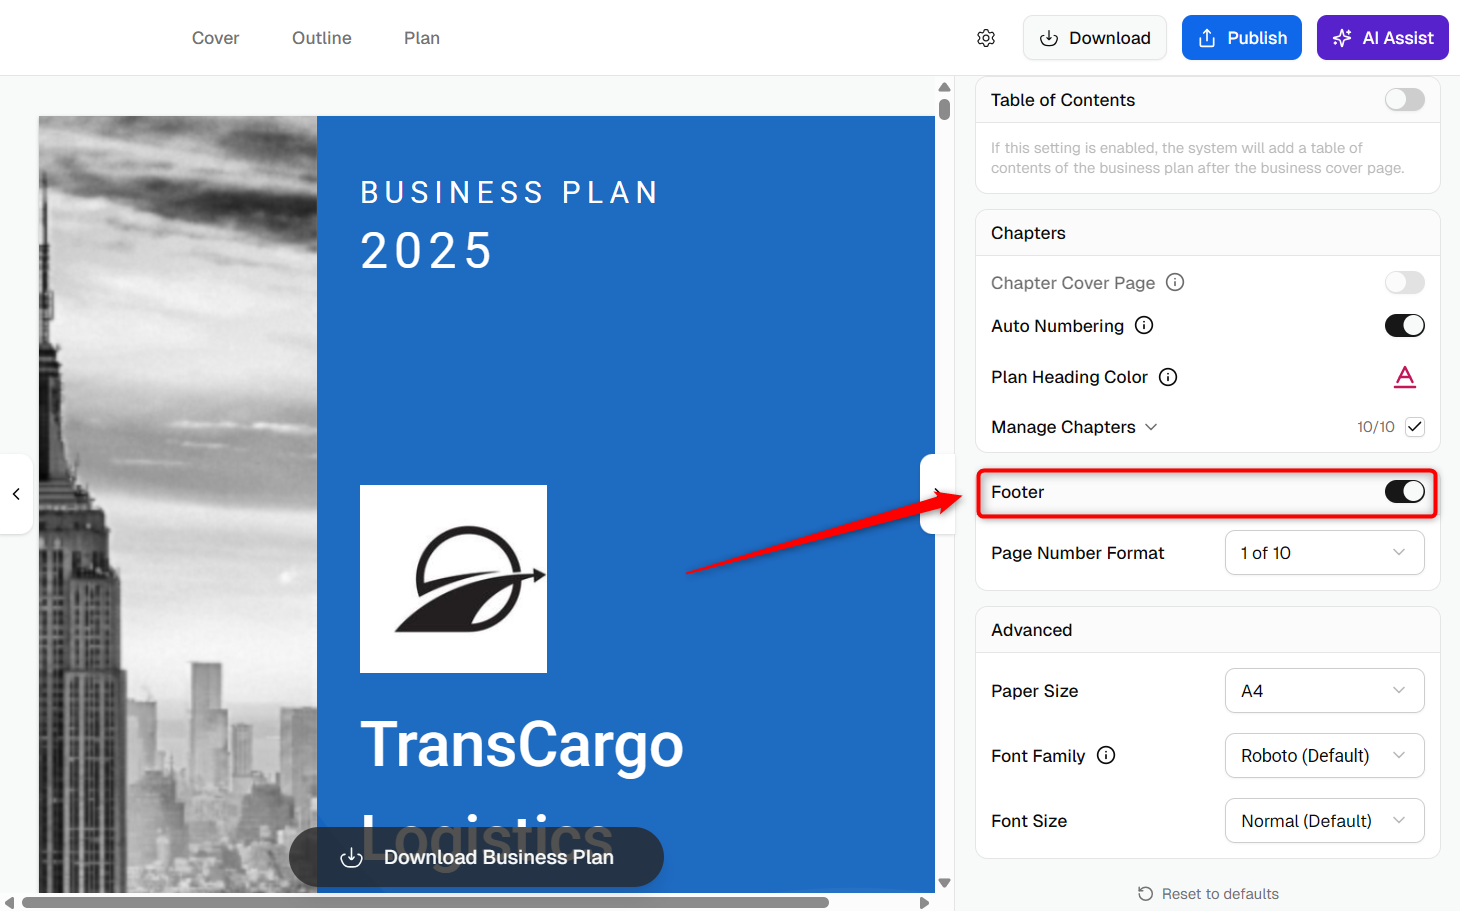
Enable the Footer option by toggling the switch. Once enabled, this will activate the Page Number Format option as shown below.
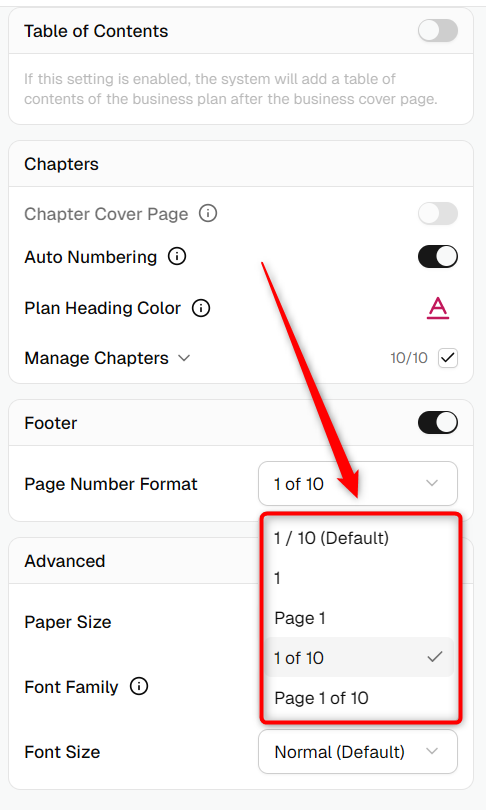
From there, you can choose your preferred format to display page numbers in the final downloaded business plan, such as 1, Page 1, 1 of 10, or Page 1 of 10.
- 3
-
Once the footer is activated, click the Download button to download your business plan in either PDF or DOC format.
The footer will be automatically formatted and included in the document, ensuring all pages display the necessary footer information seamlessly.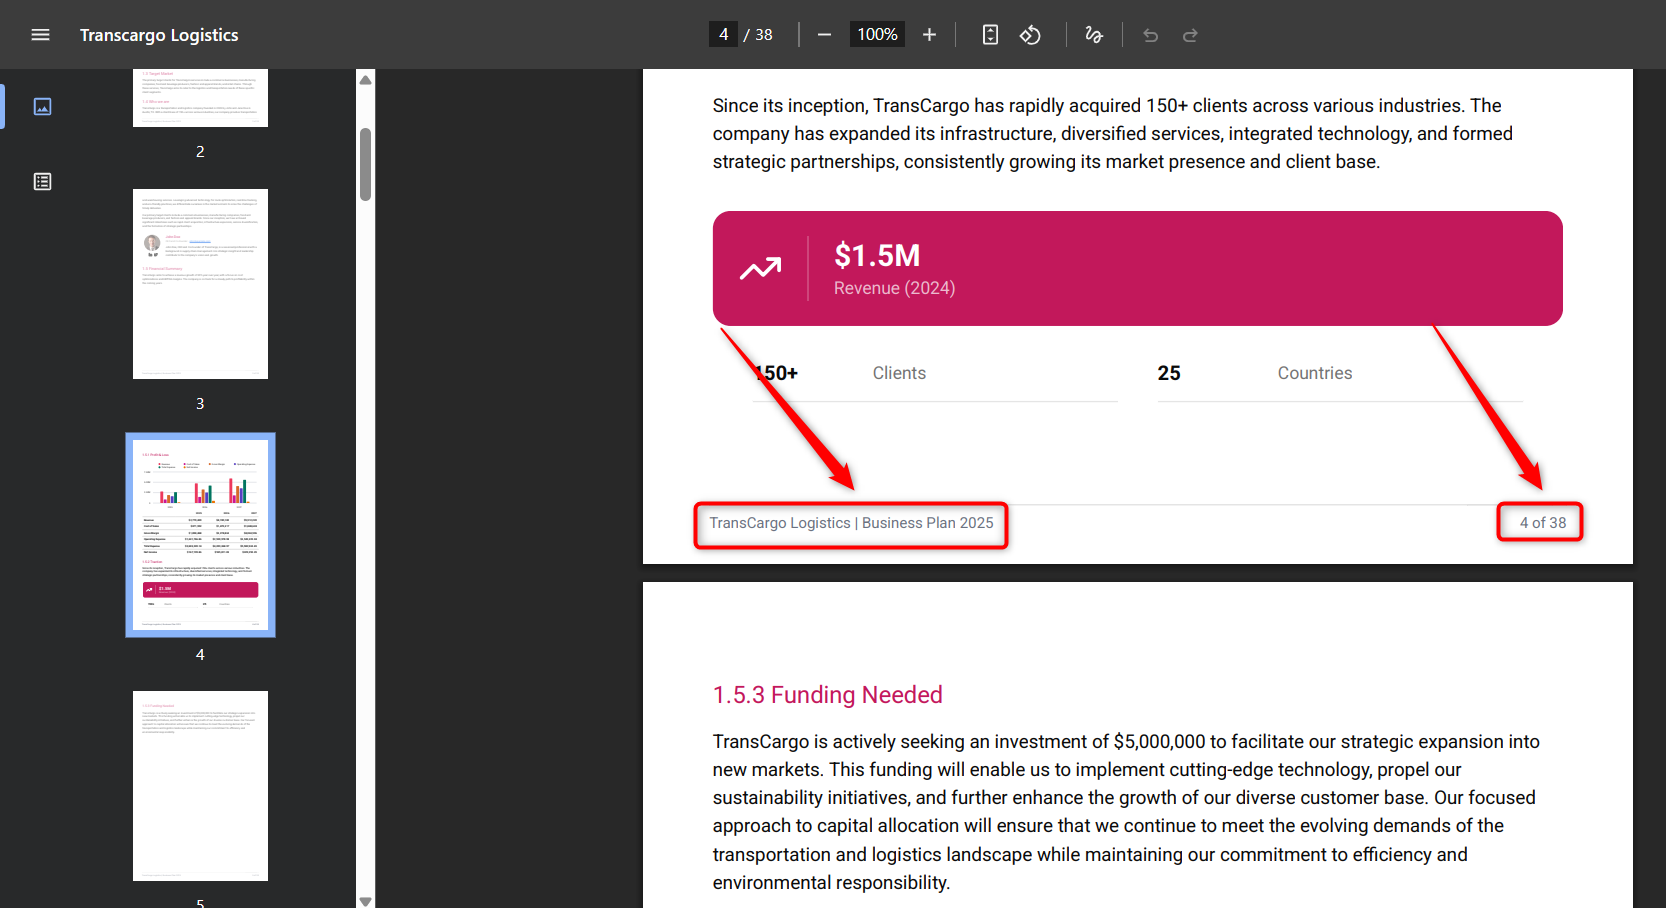


By following the outlined steps, you've now equipped your document with a consistent layout that carries important details on every page, elevating the overall presentation and effectiveness of your plan.